There have been some significant improvements to the iOS Notes app
Apple’s notetaking app was once a pretty rudimentary simulation of a pad of paper, but each year this rather unassuming app is granted a few new features. This year is no different, and if you’ve updated to iOS 11 already you’ll notice a few changes to Notes.
Let’s take a quick look at some of the useful features you might have missed over the last couple of years – not everything here is brand new, but each of these tips will help you get the most out of the app.
Scan documents
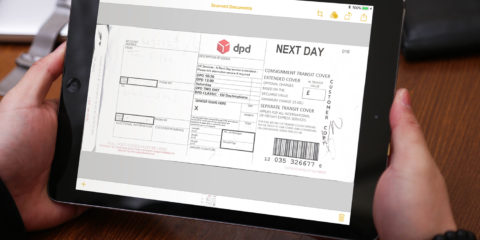
One of the most useful additions in iOS 11 is the ability to scan printed documents for easy reference on your device. It’s great for archiving paperwork.
Open a new note, then on the keyboard menu tap the + icon. Tap Scan Documents from the menu. This opens your device’s camera – hold it over the document and tap the shutter button. To only save the area the document covers, reposition the pointers over the document’s corners and tap Keep Scan, or retake if you want to have another go at capturing the document.
You can then keep going with each page of the document. When you’re done, tap Save and the app will collate each captured page and place it into the document, where you can swipe through the pages.
Sketching
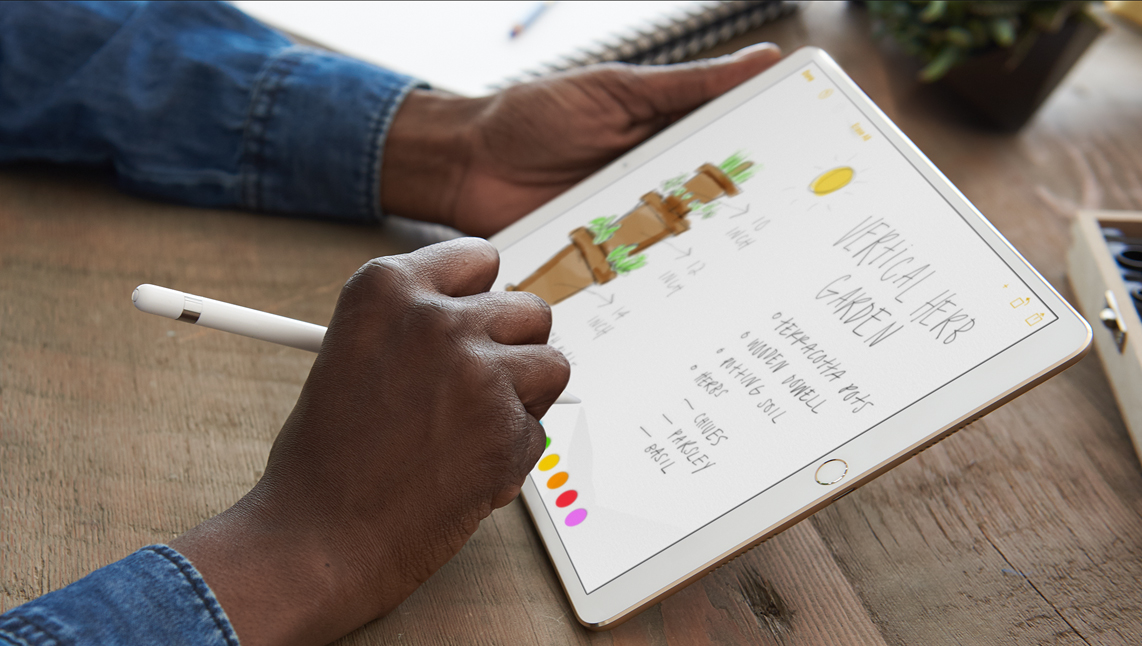
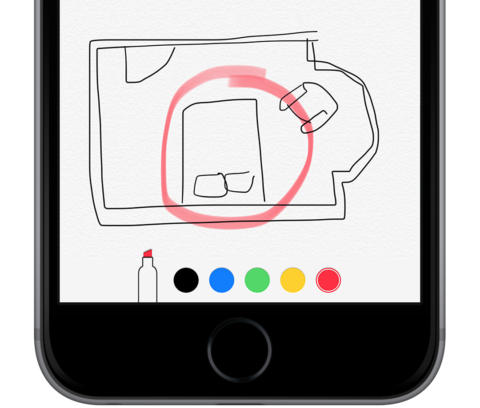
Miss the tactility of pen and paper? Tapping the pen icon on the menu bar at the bottom will allow you to draw or write notes using your finger (or Apple Pencil if you have an iPad Pro.)
You can choose between pen, pencil, highlighter and eraser tools using the icons at the bottom of the screen – and even choose between several colors.
Added security
Individual notes can now be locked, which comes in handy if you’re keen to keep your private diary entries, embarrassing love notes, or top secret recipes away from prying eyes.
Head to the main screen which displays your list of notes. Swipe left on the note you wish to secure and then tap the Lock symbol. Here, you’ll be prompted to enter a password. There’s also an option to open the note using your TouchID fingerprint.
Organization
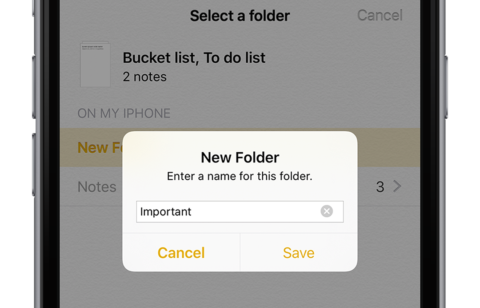
You can also organize your notes into folders. To do this, tap Edit, then select each note you wish to place in a folder.
Now tap Move To… in the bottom left corner, rename your folder, then tap Save. The main Notes screen will now display the folders you’ve created.


