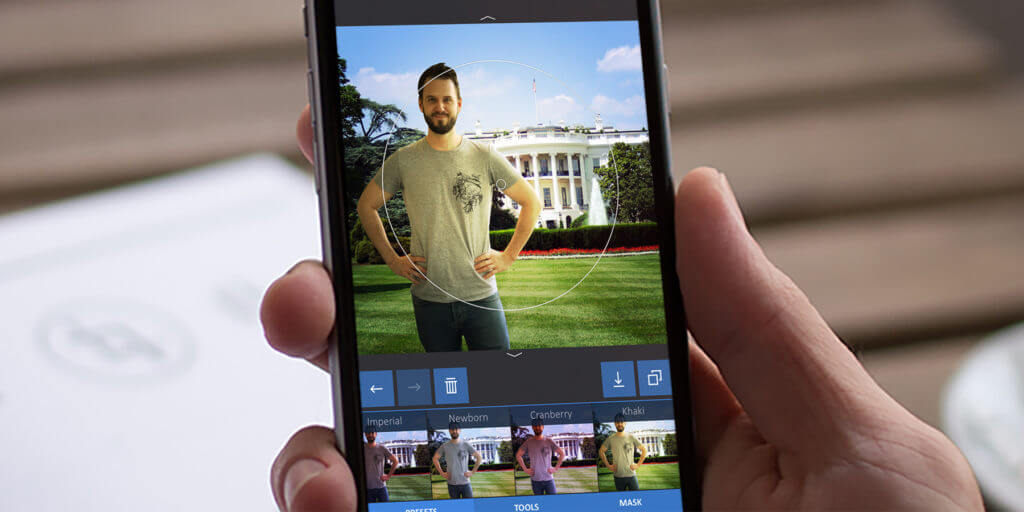
Using Exacto to cut the subject out of one photo and place it into another
We’ve recently reviewed new image editor Exacto – you can read that here.
Photo compositing used to be a tricky business, but these days anyone with an iPhone can easily transplant the subject of one photo onto another. Using Exacto we can draw around a person or object to isolate it, and then remove the background so it can be edited in another app.
Open Exacto and choose a picture from the camera roll, then follow these instructions to seamlessly remove the background!
Making the cut-outs
1. First, draw a rough outline. Each tap adds a “node,” which are used to define the shape that needs to be cut out. Conceptually, it’s a little like drawing a shape on a cork board with push pins and string. Don’t worry too much about accuracy for now, as they’re easy to manipulate later. Simply tap to select a node and then drag anywhere on the screen to move it around. Pinch to zoom in to get a better look at what you’re doing. Adjust the nodes until you’re happy with a completed outline.
2. Adjust the curve points. Black nodes are automatically added between each blue one, and these can be manipulated to adjust the curve of each line individually. Just like moving the blue nodes, tap a black one to select it and then drag anywhere on the screen to move the line around until it matches the shape of the object as closely as possible.
3. Check your progress. Hit the Live Preview button in the top left to remove the background and see your cut-out over an empty canvas. If it looks good, then you’re done here! Otherwise, you may have to tweak some lines or add extra nodes to make a more detailed outline.
4. If there are other elements that need to be removed, you can cut these out separately. Press the Layers button in the top right and them press + to add a new layer. New layers focus on what to delete rather than what to keep, but you can toggle this behavior from the Layers panel. Rinse and repeat for any other gaps that need cutting out.
5. Check the Live Preview again, and if you’re happy, it’s time to save the cut-out! Tap the Save button in the top right corner and the subject, minus the background, will be saved to your device’s camera roll, ready to be used in any other app.
Editing with Enlight
Now you’ll want to open your favorite image editing app. We particularly like Enlight for jobs like this, but if you’d rather not splash out then scroll down a bit for a free alternative.
Download Enlight [$3.99/£2.99]
1. Find a suitable background image and add it to your camera roll. This can be a photo you’ve taken or something you’ve found on the internet. We’re dropping Andy into a scene in front of the White House.
2. To add another image over the top, you’ll need to select the Mixer from the Tools section of Enlight’s side menu. If you can’t read the names of the tools you can enlarge the menu by dragging it to the left.
3. Choose the image you made in Exacto from the selection at the bottom. In the preview it will be shown on a white background, but when added to the mix you’ll see it has no background at all. Move and resize the cut-out with drag and pinch gestures until it’s in the right place, and tap the tick to continue.
4. As a final touch, we like to add a filter to the whole image. This helps to tie together the colors of the two different sources, blending them a little more realistically. Pick your favorite from the Filters section. You can also Tilt Shift to blur certain elements, which does wonders for the overall cohesion of the shot.
Editing with Moldiv
We also highly rate Moldiv, which is free to download but with some extra features like stickers and effects locked behind in-app purchases. It’s great if you want to combine multiple shots into one big image.
1. Open Moldiv and tap Collage. Choose the Free Style template and then pick up to 16 photos from your camera roll. These should include any cut-outs you’ve made and whatever you want to use as a background.
2. Next you’ll want to arrange the elements of the composition as you see fit. Tap an image to select it, and drag the arrows in the corner to rotate and resize. Press and hold an image to send it to the back of the pile. Double tap to remove an image.
3. When you’re done adjusting, hit the save button in the bottom right and choose Maximum quality. This saves the collage down to your camera roll.
4. You can then exit the collage mode of Moldiv and open up the Edit mode instead from the main menu. Import the collage you just made and you can put some extra effects in place! The app has a good selection of textures to choose from as well as a bank of tacky-but-fun stickers. Go crazy (optional) and save to camera roll when you’re done!
That’s it! Whether you want to make a cool new profile picture for Facebook or trick your friends into thinking you met Donald Trump, now you can. Have fun with your new-found compositing powers!

