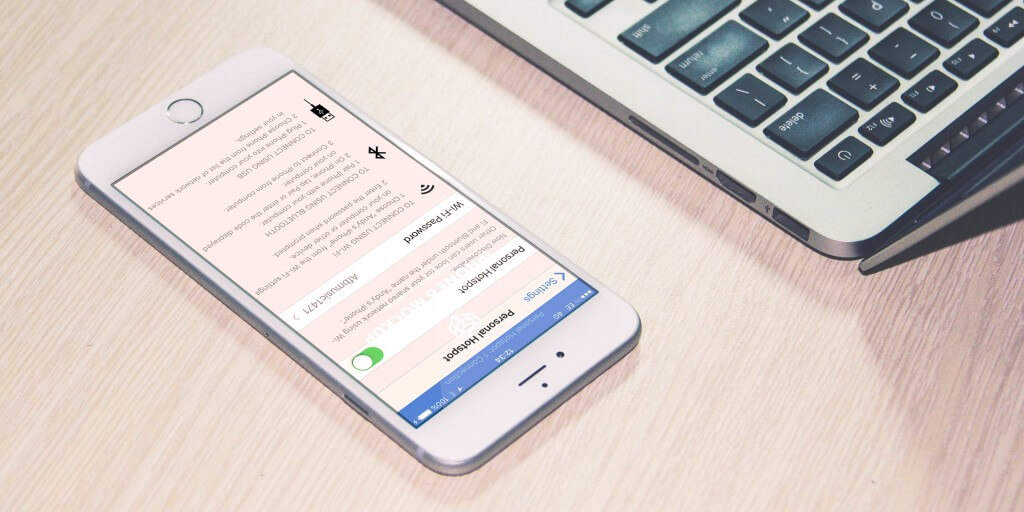
In this two-pronged guide we’ll show you how to make use of your iPhone’s internet connection to get online on an iPad, or even a desktop when Wi-Fi isn’t available. This is done by setting up a Personal Hotspot, which other devices or desktops can then connect to.
In the second part, we’ll show you how to set up an Instant Hotspot which is a way of operating a personal hotspot so another Apple device, like an iPod, iPad or Mac can connect automatically to your iPhone’s cellular network, even when the Personal Hotspot option is turned off.
How to set up a personal hotspot on the iPhone
First, here’s the simple way to set up and connect, or ‘tether’ to a Personal Hotspot.
- Tap Settings and then Mobile
- Tap Personal Hotspot then toggle the Personal Hotspot option to on
- Select Turn on Wi-Fi
- Then tap on Wi-Fi Password in order to set a password for the connection (it can be anything you want and doesn’t have to reflect any existing passwords).
It’s possible to set it up so it can only connect via Bluetooth or USB cable, which requires plugging your iPhone into the device and there are instructions on the Personal Hotspot page in Settings that show you how. The Wi-Fi option is much easier, though.
By following the instructions above you’ve effectively turned your device into a Wi-Fi router and is great for getting online when you’re out and about. It’s not recommended using your iPhone as a personal hotspot for extended lengths of time if you have a small data allowance – especially if using a browser on a desktop as full webpages can use up more data, but it’s great in an emergency.
How to set up an Instant Hotspot on the iPhone
When Apple introduced Yosemite on the Mac and iOS 8 on the iPhone and iPad, it came with a new feature; Continuity, which was designed to increase integration between Apple devices. This gave rise to things like taking calls on the Mac using the iPhone as a conduit, but it also applied to setting up Instant Hotspots.
Building on the theme of tethering outlined in the first part of this guide, the Instant nature refers to the idea that if the iPhone and either an iPad or Mac are signed into the same iCloud account, this acts as authorization and means other devices can connect and use your iPhone’s cellular signal automatically if it’s nearby without entering a password.
Here’s what you’d need to make use of Instant Hotspot:
- iPhone or iPad with a Lightning connector port (essentially an iPhone 5 or later, iPad Air or later, and iPad Mini or later)
- The above need to be running iOS 8.1 or later
- If using the hotspot with an iMac, Mac Mini or MacBook it’ll generally have to be from 2012 or later.
For instant connections ensure devices are signed into the same iCloud account.
- On iPhone or iPad, go to Settings > iCloud and sign in.
- On a Mac go to System Preferences > iCloud and sign in.
You should now be ready to set-up an Instant Hotspot! To connect to your iPhone’s cellular network on the Mac click on the Wi-Fi symbol in the top right menu bar. This lists the available networks and your phone’s personal hotspot should be in there. Selecting it will connect to its network without needing to enter a password.
On the iPad, the same process is applied – go to Settings > Wi-Fi and then tap on your personal hotspot and it’ll connect to your iPhone without needing a password.
You’ll know if the connection was successful because your phone will now have a blue bar across the top of the screen indicating a Personal Hotspot connection.
The benefit to this process is that you don’t need to wake your iPhone up and turn on the Personal Hotspot, the iPad or Mac will recognize your phone instantly. Furthermore, now that these recognize your device’s network, next time you go online and don’t have Wi-Fi, it can automatically rejoin the hotspot. Though watch out for that data usage.
Quick tip: To prevent the other devices or a Mac from automatically connecting to your hotspot, disable Bluetooth on your device quickly by swiping up from the bottom of the iPhone’s screen and tapping the Bluetooth symbol in the middle of the Notification Center to turn it off.

