Apple launched a pretty decent video editor a few years back called Clips. The idea was to give the average iOS user the tools to quickly edit their videos together with no fuss. However, in the years since, the app has taken on more of a fun role in Apple’s software line-up, and with its tagline “Say it with video” the focus is on squarely on social and sharing.
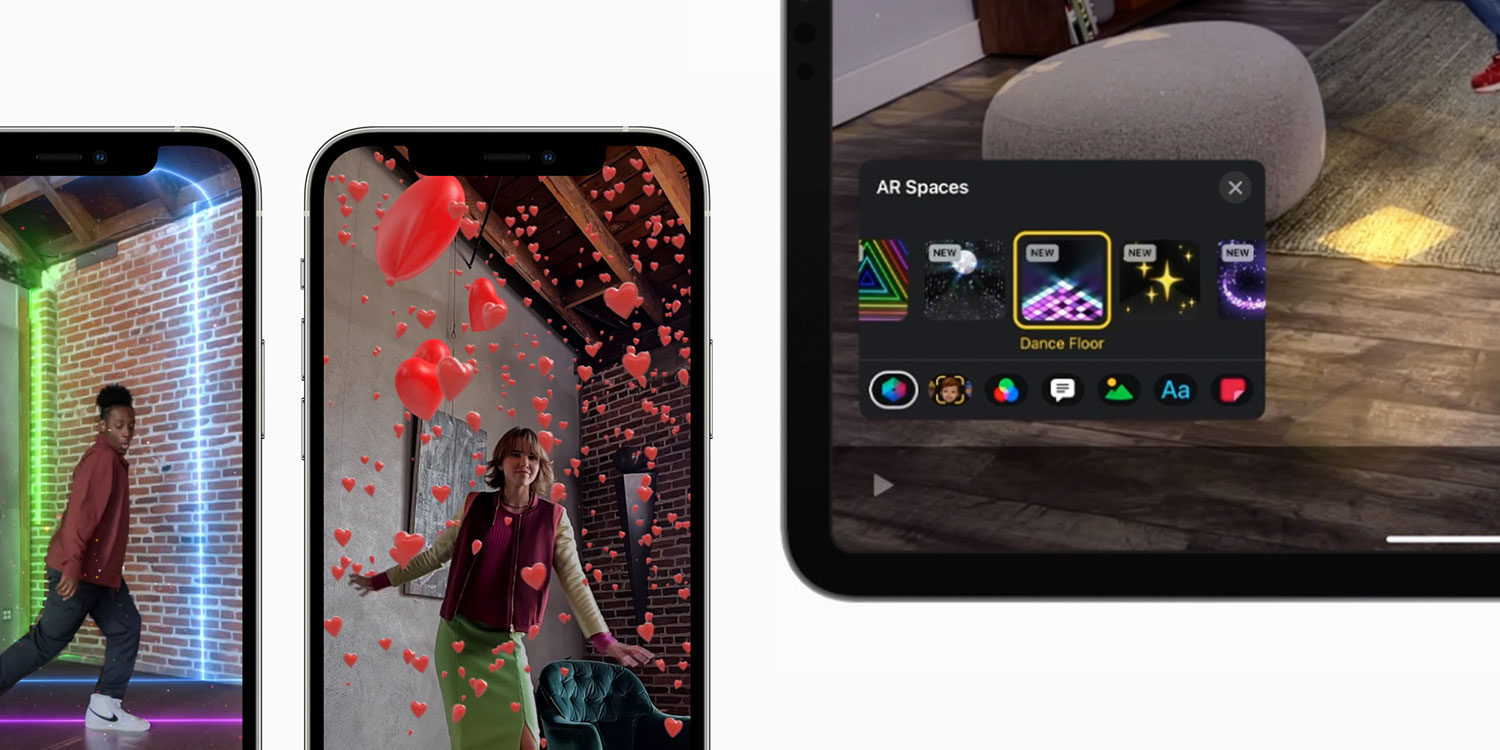
Now with version 3.1, this focus continues with 7 new Augmented Reality (AR) spaces to play around with. If you’re new to Clips you can check out the basics in our Clips 101 article, but for now we’re going to run through the new AR spaces and show you how to record someone within these spaces.
Understanding AR spaces
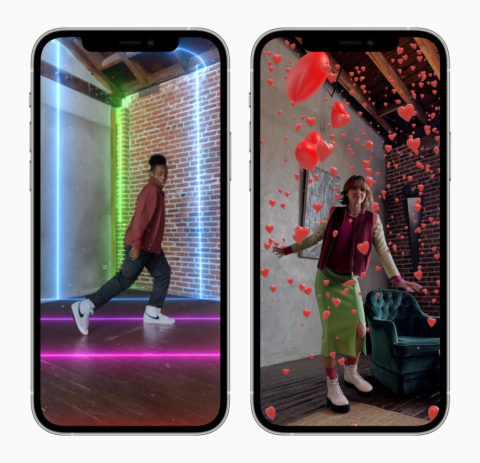
The new spaces in Clips work using the LiDAR technology available on recent devices, which does mean you’ll need an iPhone 12 Pro or an iPad Pro from 2020 or later. It works by mapping the AR effects precisely to the contours of the room you shoot in.
It will then recognize individuals in your camera view and superimpose the effects both in front of and behind them.
While you can use it outside, the results are questionable and probably not quite what you’re after – indoors is where the magic works best.
The 7 spaces are:
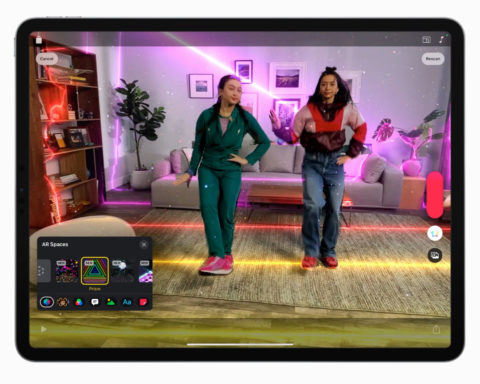
Prism: like rainbows? Enjoy this lightshow on your walls, floors, and furniture.
Confetti: like weddings? This one sees confetti fall and accumulate on flat surfaces.
Disco: like discos? Sure, who doesn’t – enjoy this disco ball swinging from your ceiling.
Dance Floor: Like dancing? Enjoy this light-up animated dance floor.
Sparkles: Like… sparkles? Okay, we’re running out of steam but this space is basically just sparkles with gold and white glitter.
Stardust: well, this one is basically just a bunch of light that follows the person around the room.
Hearts: and finally, floating hearts. Lovely!
Creating a video clip using AR spaces in Clips
Firing up these spaces is incredibly easy. Here’s how.
Open up Clips – it’ll automatically launch the camera in selfie mode. Tap the multi-colored star to the right of the big red record button. Hit Start Scan and slowly move your device around to capture the entire space you wish to use. The LiDAR scanner makes the accuracy pretty impressive, but watch out as windows, mirrors, and screens can confuse the scan. There’s no need to scan the whole room so we’d advice picking a nice clear corner and running with it.
When you’ve captured everything you need to, tap Start Effects and choose one of the 7 AR spaces. Your rear camera will now scan the room and provide a live preview of the effects. Now, find something you want to capture – maybe you can make your dog dance – then tap and hold the red record button to capture the activity with the effects playing.
This clip will then be added to a timeline at the bottom of the screen. Tapping on it will bring up the usual editing tools, allowing you to trim, split, add effects and more. You can also immediately choose another AR space and record a new clip which will then be added to the timeline.
It’s a very simple tool to use but the results are quite incredible!


