Take control of the cloud
Apple’s iCloud Backup service is a useful feature, but its 5GB free storage limit leaves countless users scrambling for space. Of course, you can increase your 5GB to 10GB, 20GB, or even 40GB, but doing so results in a yearly fee that starts at $20/£14 and climbs as high as $100/£70.
Instead, through careful management users can safely back up the contents of their iPhone to Apple’s iCloud while dodging the company’s additional charges. Read on to find out how you can take control of your iCloud backups in four simple steps.
Check your backups
This might sound obvious, but we’re starting with one of the most common mistakes iPhone and iPad users make. Most of us upgrade our iOS devices every couple of years, yet a surprising number forget to manually delete backups for old iOS devices from their iCloud account – a move that could waste a huge chunk of your backup quota.
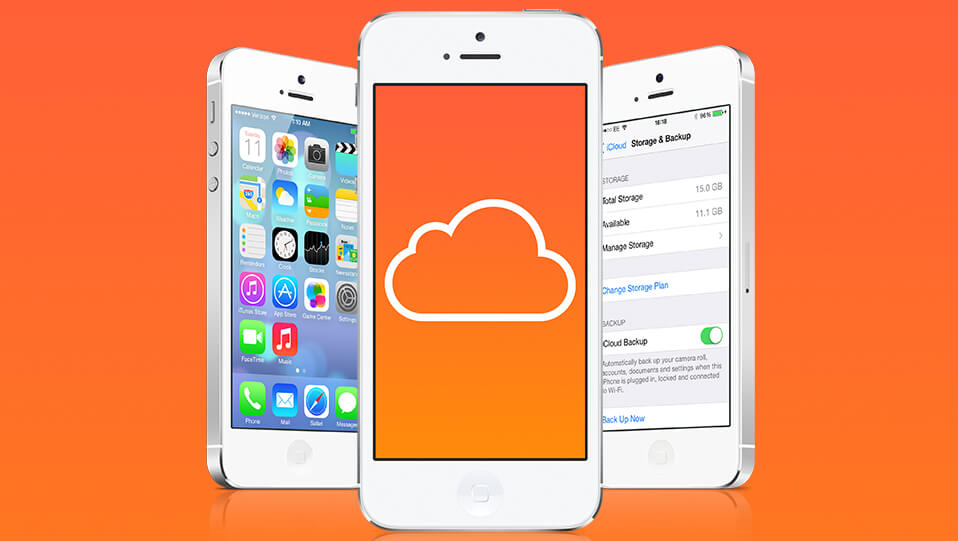
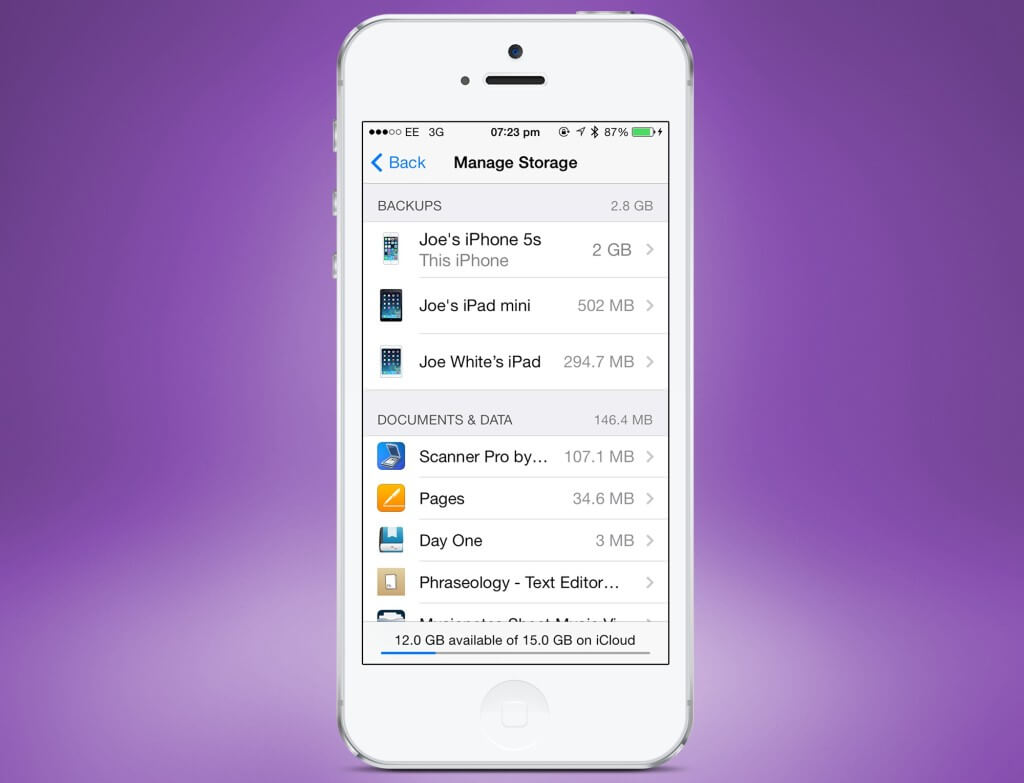
To remove old backups, launch the Settings app and navigate over to the iCloud preferences pane. Here, open ‘Storage & Backup’ and then ‘Manage Storage.’ At the top of the screen you’ll see a list of iOS devices associated with your iCloud account: if an unused iPhone or iPad is listed, touch the device’s name and select ‘Delete Backup’. The backup will then be deleted from your account, freeing up anywhere between a few hundred megabytes or several gigabytes of precious iCloud storage.
Dealing with photos
Regaining control over the Photos app is a key, since its contents will likely be eating significantly into your 5GB iCloud backup quota.
The quickest and easiest way to slim down your Camera Roll impact is to disable HDR duplication. From the Settings app, go to Photos & Camera, then turn off the ‘Keep Normal Photo’ option at the bottom. This will stop duplicate images from appearing in your camera roll and in turn, being uploaded to iCloud.
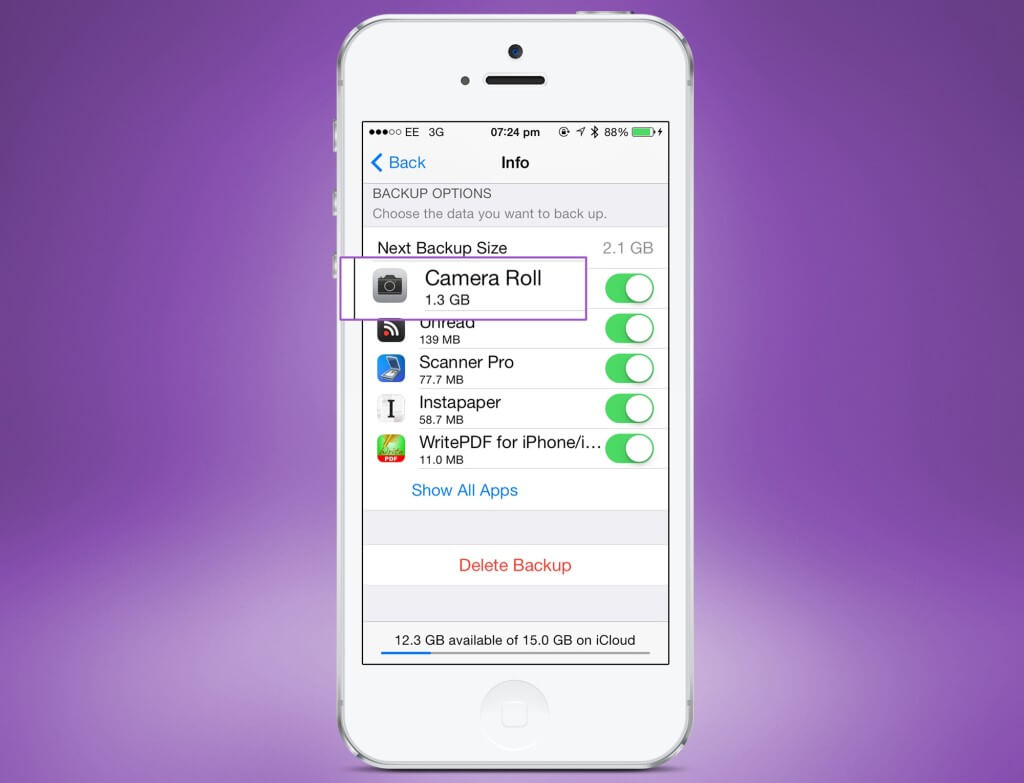
Your Camera Roll will often take up the most space in your iCloud backup as we
all take so many pictures
However, even with HDR disabled, the Photos app still requires a lot of iCloud storage. It might be worth considering using another option altogether, such as Dropbox. You can set up a free Dropbox account and take advantage of the service’s intuitive ‘Camera Upload’ feature, which enables users to wirelessly route images from the Photos app to their computer before deleting their Camera Roll iCloud backup, potentially saving gigabytes of iCloud storage.
Set up Dropbox
Setting up Dropbox is simple:
1. Sign-up for a Dropbox account and either download the free Dropbox app on your iPhone, or spend a little cash on the CameraSync app ($2.99, £1.99).
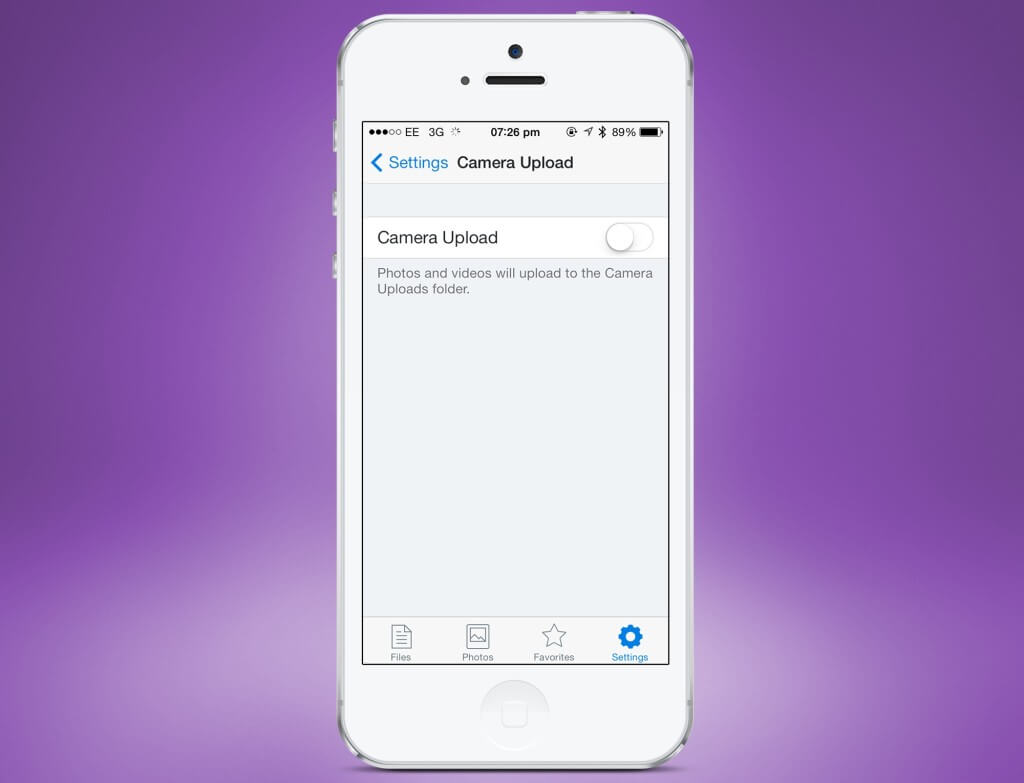
2. If you’re using the Dropbox app, launch it and enable ‘Camera Upload.’ Your iPhone will begin uploading the contents of the Photos app to Dropbox, and new photos will be uploaded whenever you launch the Dropbox application.
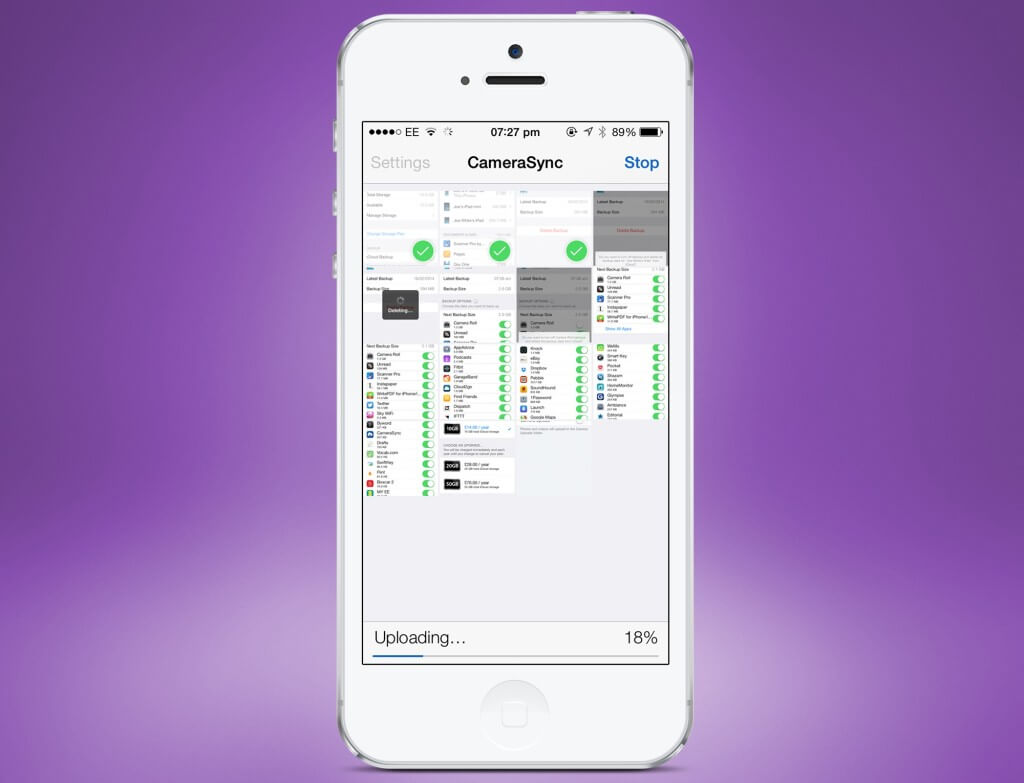
3. If you’re using CameraSync, sign-in to the service with your Dropbox credentials. Then if you wish, enable ‘Background Location Sync’ and authorize your home address as a ‘Sync Location’. With this useful feature activated, CameraSync will automatically upload new photos and videos taken on your iPhone to Dropbox whenever your handset connects to your home Wi-Fi network.
4. Regardless of which app you use, images and video from your Photos app will be uploaded to the ‘Camera Uploads’ folder in Dropbox. From here, content can either be manually transferred to a computer or left in Dropbox (since the service provides 3GB of storage free of charge for users of Camera Upload).
5. Once you’re sure that your photos and videos have been transferred to Dropbox, navigate back over to the ‘Manage Storage’ section of iCloud’s preferences and select your iPhone’s iCloud backup. Under the ‘Backup Options’ heading, toggle Camera Roll off and delete the backup. You can use the same method to disable iCloud backup for other apps and services, too.
That’s all there is to it. If you have a lot of photos saved on your iPhone, this trick should shave a couple of gigabytes off your backup size, making it easier to stay within Apple’s free 5GB limit. The contents of the Photos app will remain on your iPhone, backed up to Dropbox, leaving iCloud available for profile, and document related files instead.
Download iBooks again
If you’re a big iBooks user, some of the image-heavy, interactive titles in your library could be putting a real strain on the size of your iCloud backup. Remember, though, that even if your iPhone or iPad croaks, you’ll still be able to go back to the iBookstore and download titles you’ve already purchased again.
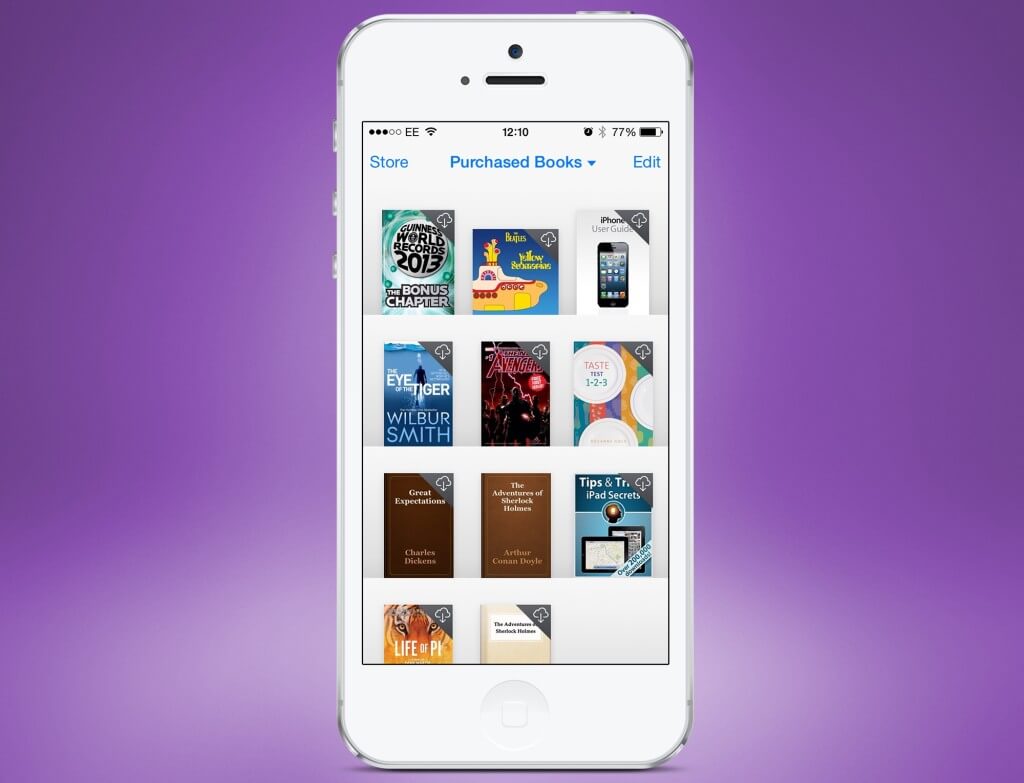
You can do this simply by launching the iBooks app, selecting ‘Store’, and then touching the ‘Purchased’ tab at the bottom of the screen. Books with a cloud icon in place of the price are yours to download, free of charge.
As such, you don’t really need to back up the iBooks application to iCloud, so by switching off iCloud backups for iBooks, you can save a lot of space –depending on the size of your library, of course.
Get smart with app data
If you still need to free up iCloud storage space after following the above steps, you’ll have to get smart with app data and start disabling backups for apps which don’t require the feature.
In particular, there are two warning signs to draw your attention to, and the first is apps that store either music or video locally. This could be a video app like VLC Media Player, or a music streaming application like Rdio or Spotify (both of which let users save tracks to their iOS device). In each case, content that’s either been loaded manually onto your iPhone or saved from the Web could be needlessly backed up to iCloud, squeezing that ever precious storage allowance.
The second warning sign is for apps which are already syncing with Dropbox, Google Drive, Box, or a similar service. You’d be surprised how many iOS apps integrate and sync with one or all of these platforms. If you spot one that does, then turn off iCloud backup for it. Just double-check that you’ve configured your chosen service first, and that important data is being synced.
Remember, before coughing up for extra storage space, be sure to follow the above steps to slim down the size of your iCloud backup.
