NFC tags aren’t new, but clever usage of a custom smart tag can still feel impressively futuristic. And it’s never been easier or cheaper to make your own.
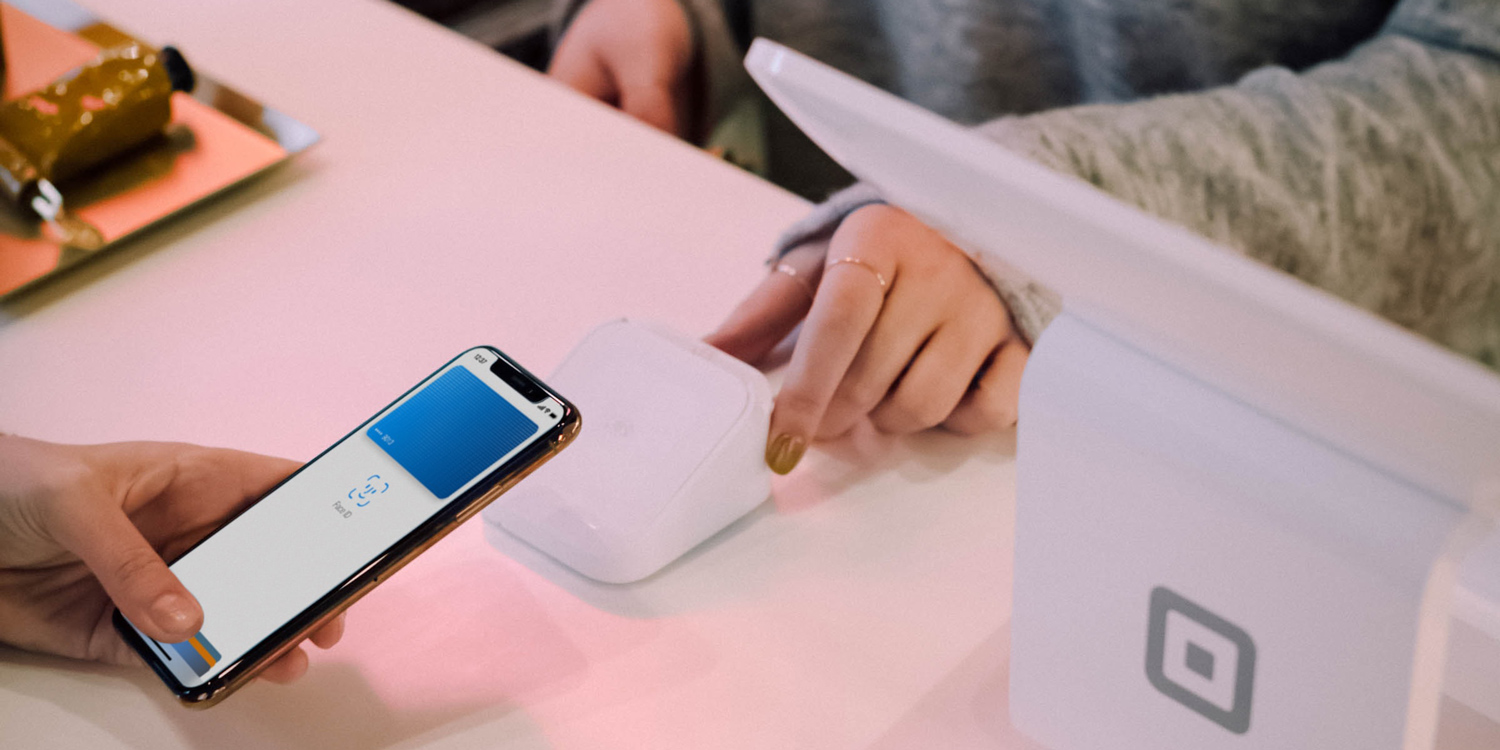
NFC, or Near Field Communication, essentially allows two devices to talk to one another when you put them close to one another. It’s the technology that powers Apple Pay, and it’s how you can hand off audio to a HomePod just by touching it with your iPhone.
Make your own NFC tags and you can trigger almost any action or shortcut you can think of on your iPhone just by tapping the tag. You could put one on your router to share Wi-Fi credentials with a tap, program a business card to store your contact details, adjust smart lights and music to quickly change the ambience, or trigger a driving playlist and directions home in your car. The sky’s the limit!
What you’ll need
You’ll need an iPhone 7 or newer, an NFC writing app like NFC Tools, and the Apple Shortcuts app. Compatible iPhones can read NFC tags without the above apps installed, but you’ll need those to create complex and/or custom behaviours.
You’ll also need to buy the NFC tags themselves. At the time of writing you can get a 30-pack of plain white NFC stickers for around $12, or 100 NFC cards for $40. Shop around and you’ll find plenty of other styles, but they all work the same way.
How to trigger a Shortcut with a tag
We’ve covered some clever uses for the Shortcuts app before, but if you’re new to automation its essentially Apple’s way of letting users create custom time-saving actions that can be triggered with a button press, or a Siri request, or – of course – a tag of an NFC tag.
Shortcuts is powerful, and a great way to use NFC tags, but bear in mind anything you set up here will only work on your own iPhone. This method is for personal automations and won’t do anything if scanned by someone else.
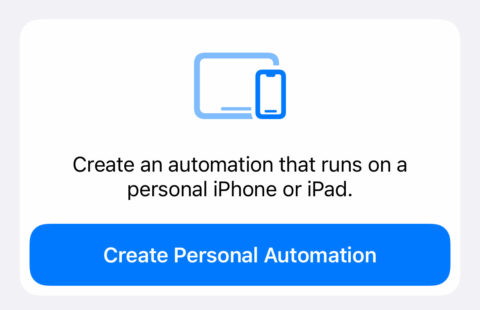
Open Shortcuts to the Automation tab and press the + button in the top right. Tap Create Personal Automation and choose NFC from the list of triggers.
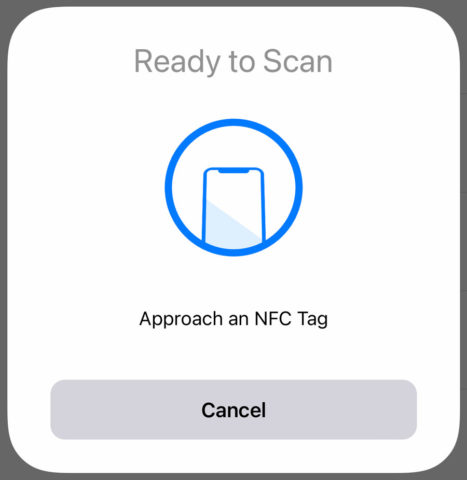
Press the Scan button and swipe the top of your iPhone near your chosen tag to register it. Give the tag a name when prompted. Hit next and you’ll be able to choose a series of actions to trigger whenever the tag is scanned. Press add action and search for a specific app or browse the categories for ideas.
Add more actions if you like, and tap Next when you’re done. Be sure to turn off Ask Before Running if you want a seamless process that performs the actions immediately without requiring your input. Tap Done.
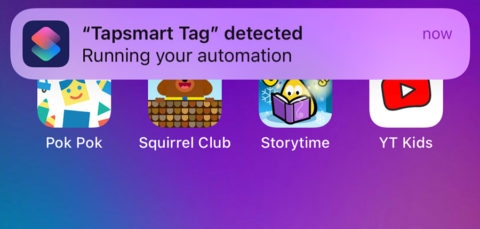
You’re done! Try out your new automation by touching your iPhone to the NFC tag. Pretty cool, huh?
How to program a tag with NFC Tools
With the right third-party app, you can program an NFC tag to work on anyone’s (compatible) device, not just your own. This is great for setting up things you want to share, like contact details, websites, or custom playlists.
There are a bunch of apps that can do this for you, but we like NFC Tools. It’s free and relatively simple to use.
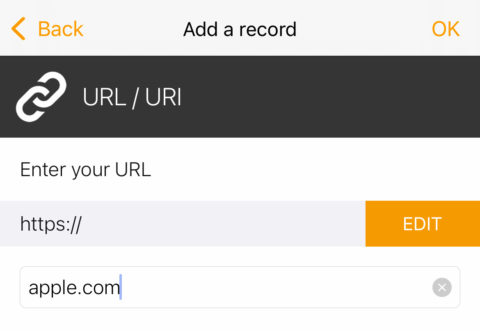
Open NFC Tools and press Add a record. This is where you’ll choose what kind of data is stored in the tag. You can create a record of a website URL, a Bluetooth connection, a location, or any custom data you wish.
When you’ve chosen one or more records, tap Write. That’s it!
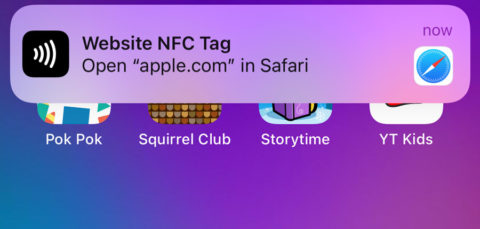
You’ll noticed when you perform a test scan of this NFC tag, you’ll get an iOS notification showing the details of the data stored in the tag. Users will have to tap the alert in order to, for example, open the website or accept the contact details.
Have fun coming up with clever and interesting ways to use your NFC tags and impress your friends Here’s one final bonus tip: with the Tagmiibo app you can even clone a Nintendo Amiibo onto an NFC tag!
